DHT11 Temperature and Humidity sensor

| Pin | Name | Description |
| 1 | VDD | Power supply 3 - 5.5 V DC |
| 2 | DATA | Serial data output |
| 3 | NC | Not connected |
| 4 | GND | Ground |
Wiring:
Connect the sensor to the Arduino using the pin details as shown below
| DHT11 | Arduino |
| Pin 1 | Vcc |
| Pin 2 | Analog0 |
| Pin 4 | Gnd |
Install the DHT11 library:
Down load this zipped file and unzip it under the libraries directory of the Arduino IDE folder. For example, for my computer's setup, the directory is
<Path to Arduino IDE>\libraries
After copying files across, the directory
<Path to Arduino IDE>\libraries\DHT
should have the following two files: dht.h and dht.cpp
Program:
Load the program dht11.ino after you save it onto your computer and open it in Arduino IDE .
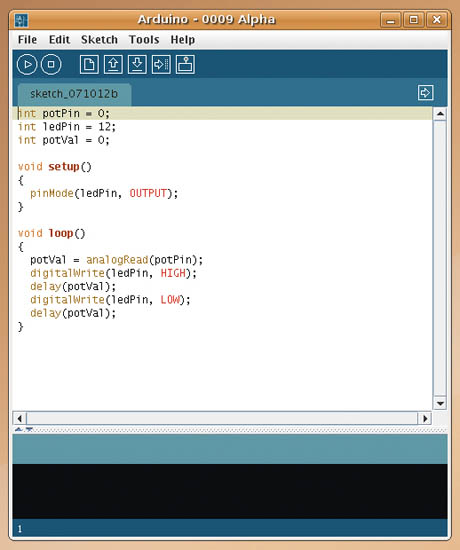
Fig 1. Arduino IDE
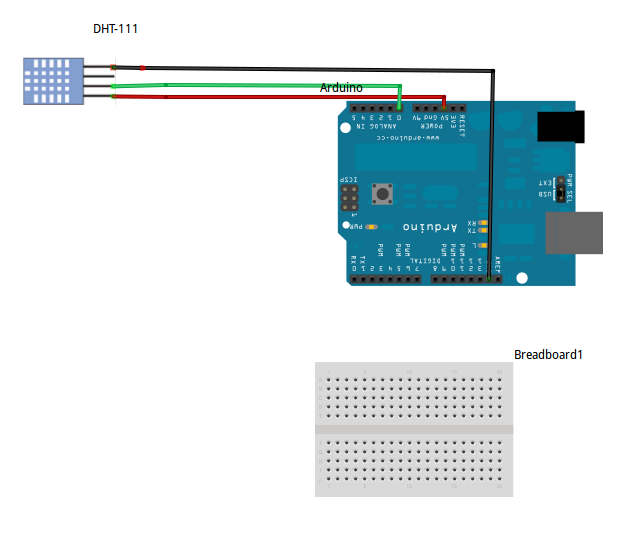
Fig 2: How to connect the sensor to Arduino
Running the program:
- Compile the program in the IDE
- Run the program and open the Serial port ( shown below )
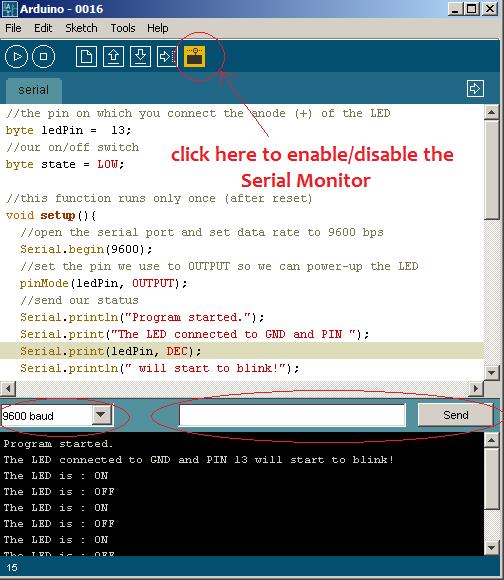
Fig 3: How to see the Serial port output
Output of the program:
And you should see the temperature and Humidity readings
