Once the Bluetooth is tested and working and you have the motors wired and ready to go,
The Robo is ready to go wireless. This is a tutorial details how we go about it.
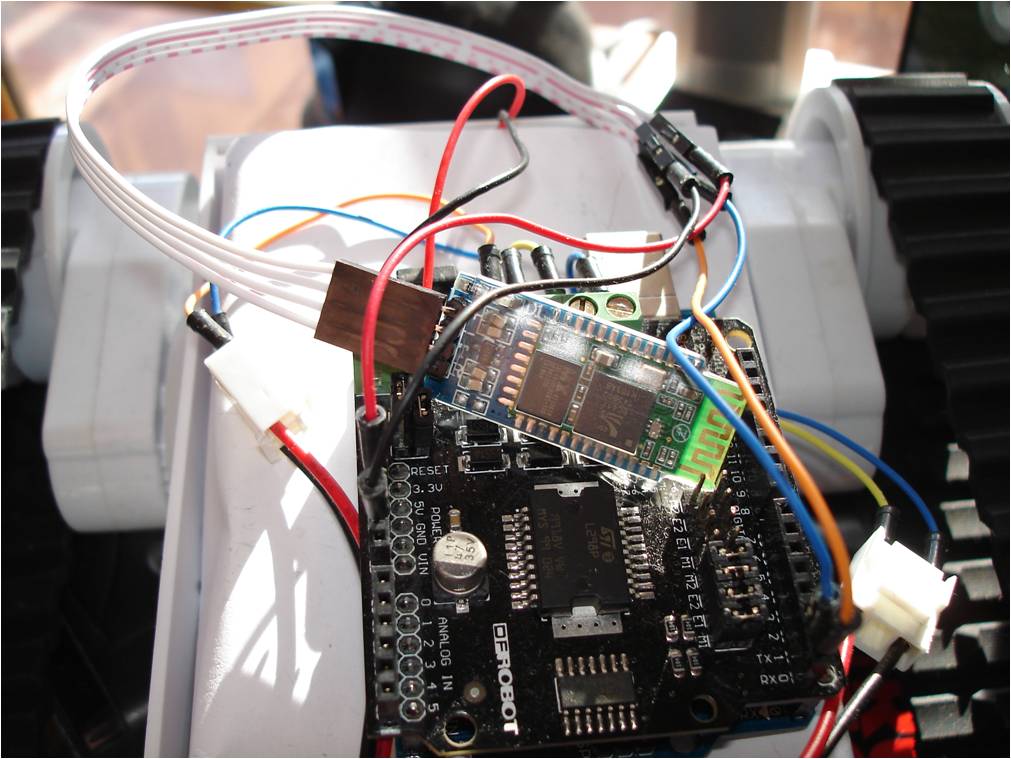
Connect the blue tooth to the Arduino board:
Before connecting the Bluetooth to the Arduino, you need to shutdown the Arduino IDE program (the program you use to write upload code to the Arduino). This is because the serial interface of the Arduino may not be shared between the Bluetooth and the PC at the same time, otherwise the Arduino IDE may crash. Or you can run into this Slow Arduino IDE problem if your Bluetooth is on. Connect the tx of the blue tooth module to the rx (pin0) on the Arduino board and the rx to the tx (pin1) as described in the table below.
| Bluetooth | Arduino |
| Vcc | 3.3V |
| GND | GND |
| TXD | RXD |
| RXD | TXD |
Once open up puTTY, and select the correct COM port, the blue tooth module’s LED should be changed from flashing to stays on, which indicates the connection is established. Now it's time to have some fun, key in 'e', 'c', 's', 'f', 'd' in puTTY to control your Rover!
Sprinkle some life into the ROBOT!!!
Get yourself this cool Robot!!