NetSensor step 2: How to connect arduino to an OLED display

Why do we use I2C OLED displays?
They are pretty to look at, elegant and power efficient. Unlike other interface, the I2C interface only requires 2 GPIO pins, freeing other GPIOs for your sensors and actuators.

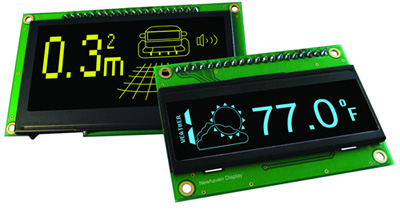
A typical OLED display looks like this:

OLED display


Display we use is the Kozig Model ZT.SC.I2CMx


Wiring the OLED display to Arduino
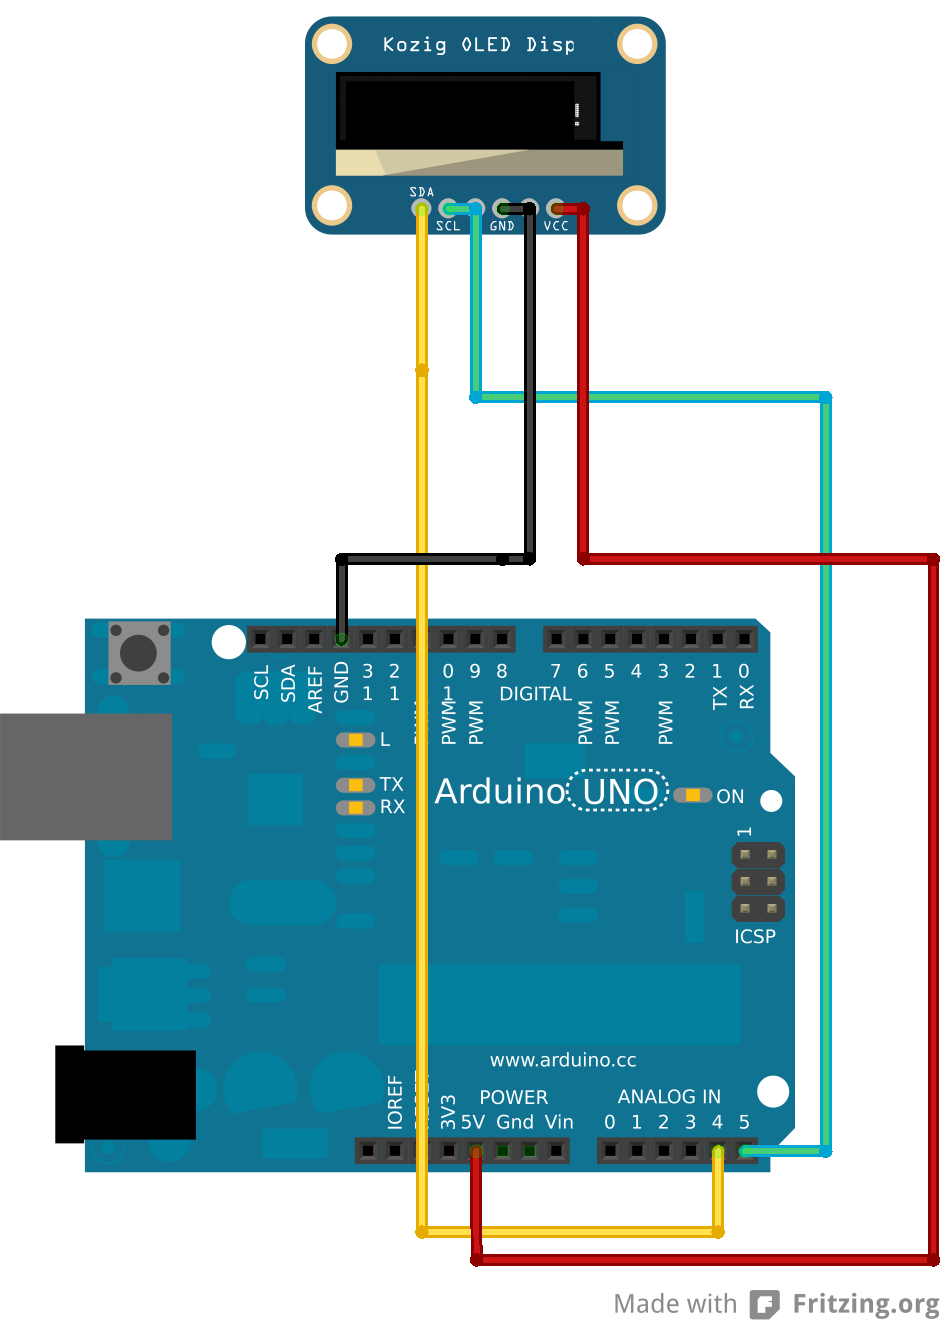

The OLED display uses I2C bus to communicate with the Arduino. The I2C bus can support multiple devices and each device on the I2C bus has a uniqe address.

The Arduino code uses this address to communicate with the OLED display and sets its internal registers and memory to display data on the screen.

Two pins SCL (A5), SDA (A4) in Arduino Uno are used for communication.


Arduino OLED display wiring

Fig 1: Wiring Arduino to OLED display


Once the above wiring is done, download the library below to the libraries folder in the Arduino IDE installation, in mine the directory looks like this "c:\arduino-1.0.5\libraries".

Oled Arduino Library


Then restart the Arduino IDE and open File->Examples->U8glib->HelloWorld

Compile the example and download to the arduino.


OLED display showing some text:

Once the code is downloaded, restart the arduino by pressing the reset pin and you should see some text like this :
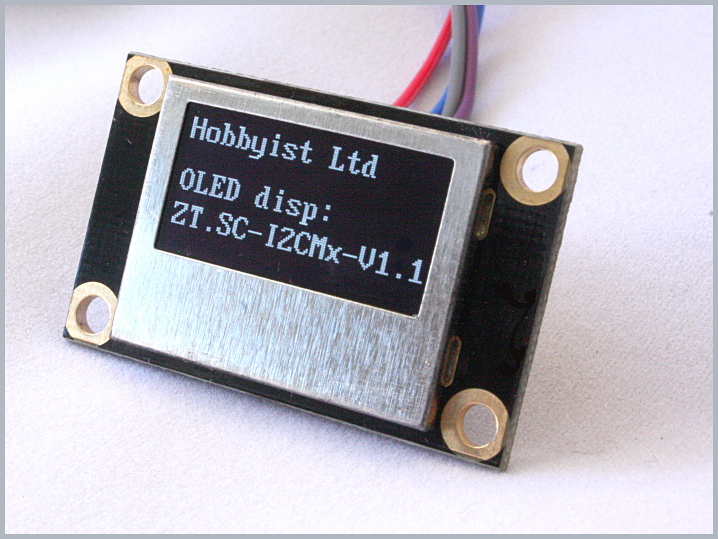

OLED display Arduino

If you can get to this point, congratulations, you have got your OLED sorted. Please proceed to the next step.

Step 2: Wiring the Temp& Humidity Sensor + OLED Display + Door Opening Switch

Zircon - This is a contributing Drupal Theme
WeebPal