Finding your PC's ip address  Windows, Mac users:
 Linux users:
Type the following command on the command prompt
> ifconfig eth0
eth0 Link encap:Ethernet HWaddr bc:ae:c5:49:b1:ee
inet addr:192.168.20.200 Bcast:192.168.20.255 Mask:255.255.255.0
inet6 addr: fe80::beae:c5ff:fe49:b1ee/64 Scope:Link
What to do once you got your ip ?
NOTE: This should work in most cases, only case where this wont is when there is another host on the network with the same ip as the arduino. If that happens pick another ip say x.x.x.23
Now you have the ip address for the Arduino, how do you program it in ?
IPAddress ip(192,168,20,8); // <<<< Enter your chosen IP hereAfter the above changes compile, upload the code to the Arduino.
Connecting the ethernet port of the arduino to the network, there are 2 ways to go about it.
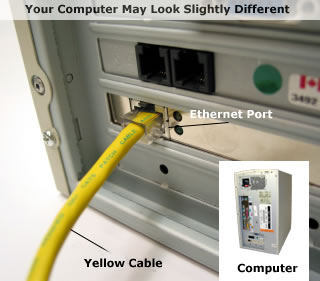
- Connect Arduino to PC's ethernet port

- Connect to the LAN port of your wireless router ( preferred option )
 or
or
Test if the PC can talk to the Arduino
> ping 192.168.1.21
If you get a response like this, it means all is well and you can proceed to the next phase:
PING 192.168.20.21 (192.168.20.21) 56(84) bytes of data.
64 bytes from 192.168.20.21: icmp_req=1 ttl=128 time=0.519 ms
......
64 bytes from 192.168.20.21: icmp_req=4 ttl=128 time=0.098 ms
--- 192.168.20.21 ping statistics ---
4 packets transmitted, 4 received, 0% packet loss, time 2999ms
rtt min/avg/max/mdev = 0.083/0.201/0.519/0.183 ms
NetSensor Up and Running....Playing with the NetSensor- Click the bump sensor and see the alarms go off
- Breathe into the DHT sensor and see the effect on the humidity and temperature readings
More things to do..