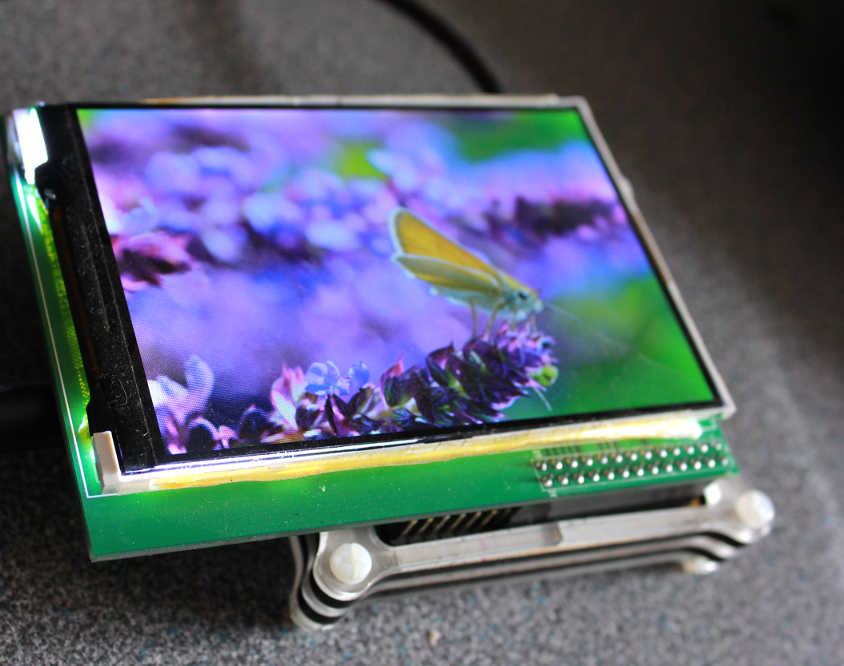
If you are here, you likely have a ili9488 LCD and would like it going on the raspberry pi. We have been through the process of buying one of these modules and figuring it does not have native linux support and went ahead and wrote a driver for the same.
Our thanks to Noralf Tronnes for maintaining the excellent FBTFT repository and for his well documented code making it easy for us to write support for new hardware.
NOTE: Unfortunatley FBTFT is not taking in new drivers and all the modules are going to be supported via DRM ( Direct Rendering Manager ), so we could not deliver this patch upstream
We are writing up the process of building your own drivers and getting the ili9488 going on the Rasbperry Pi.
To be done before you get started:
- Have your raspberrypi setup with network connectivity
- PC ( Ubuntu/any other Linux distro) setup for cross-compiling Raspberry pi
- Have basic knowledge of compiling linux kernel
1. Find the kernel version running on the Raspberry Pi, its done as below
pi@raspberrypi:~/fbtft $ uname -r 4.4.21+2. Download the same kernel version from Raspberry pi linux repository
On your PC
PC:$ git clone --depth=1 -b rpi-4.4.y https://github.com/raspberrypi/linux
3. Download this patch and patch it onto the linux tree which we just cloned from the Raspberry pi Repository
Download this file and save it into file named ili9488.patch
PC:$ cd linux/Save the file ili9488.patch into the linux directory and apply the patch to the linux repository
PC:$ patch -p1 < ili9488.patch patching file drivers/staging/fbtft/Kconfigpatching file drivers/staging/fbtft/Makefile
patching file drivers/staging/fbtft/fb_ili9488.c
patching file drivers/staging/fbtft/fbtft_device.c
pi@raspberrypi:$sudo modprobe configs
pi@raspberrypi:$zcat /proc/config.gz > .config
Copy the .config file to your linux folder on your PC
5. Start building (ref : Raspberrypi Kernel Build )
For Pi 1 or Compute Module:
cd linux KERNEL=kernel make ARCH=arm CROSS_COMPILE=arm-linux-gnueabihf- bcmrpi_defconfigFor Pi 2/3:
cd linux KERNEL=kernel7 make ARCH=arm CROSS_COMPILE=arm-linux-gnueabihf- bcm2709_defconfig Then, for both:
make ARCH=arm CROSS_COMPILE=arm-linux-gnueabihf- modules NOTE: To speed up compilation us the -j n options along with the above command where n is the number of processors * 1.5pi@raspberrypi:~/img $ sudo apt-get install fbi
pi@raspberrypi:~/img $wget http://www.vanessadewson.com/wp-content/uploads//galleries/post-1747/ful...-O nature.jpg
pi@raspberrypi:~/img $ sudo fbi -d /dev/fb1 -T 1 -noverbose -a nature.jpg
